This guide does not cover you with all of the knowledge you need, but instead the "basics", and the extent of what I know, which is still very limited.
A brief overview
Linux is an open source kernel made in 1991 by Linus Torvalds, who also created git. Many operating systems/distros have been made since then, which are all powered by Linux. Some uses include:
- 100% of supercomputers worldwide
- 96% of servers worldwide
- Android systems
- Probably lots of other things you have, including smartwatches, TVs and cars
Fun fact: Torvalds has complained before that he started linux as a desktop operating system, and it's the "only area where linux hasn't taken over".
Installation
Click on a button to see how to install.
Installation to a disk
You will need:
- a USB drive with at least 8gb of space (maybe 4gb depending on the iso file).
- rufus, or similar software, installed
Firstly, decide on a distro. Navigate to the installation link for your chosen distro's .iso file download link.
Use rufus (or whatever else you have) to flash the iso file onto your USB drive. Warning: all the data on your USB will be erased. Also ensure to select your USB drive and not the drive with your operating system. Now you can power off your pc.
If you have not already, turn secure boot off in your PC's BIOS settings. To get into your BIOS settings, spam click a specific key (see below) while your PC is turning on.
To boot into your .iso file, spam click a specific key (see below) while your PC is turning on and select your USB drive
Motherboard manurfacturer
BIOS key
Boot key
Acer
DEL / F2
F12 / ESC / F9
Apple
DEL / F2 / F9
Option key
ASUS
F8 / ESC
Dell
F2
F12
HP
F10
ESC / F9
Lenovo
F1 / F2
F12 / F8 / F10
Once into the installer, you can just follow the on-screen instructions for most distros as they aren't too complicated. As for others (e.g. arch) these require a bit more knowledge (might fill this in later)
Installation using VirtualBox
Warning: using virtualbox will significantly decrease your overall performance, especially on older systems.
If you don't want to use an extra drive or partition your drive, you can use VirtualBox, which allows you to run operating systems inside another.
First of all, you need to enable virtualisation in your PC's BIOS settings. To get into your BIOS settings, spam click a specific key (see below) while your PC is turning on.
Motherboard manurfacturer
BIOS key
Boot key
Acer
DEL / F2
F12 / ESC / F9
Apple
DEL / F2 / F9
Option key
ASUS
F8 / ESC
Dell
F2
F12
HP
F10
ESC / F9
Lenovo
F1 / F2
F12 / F8 / F10
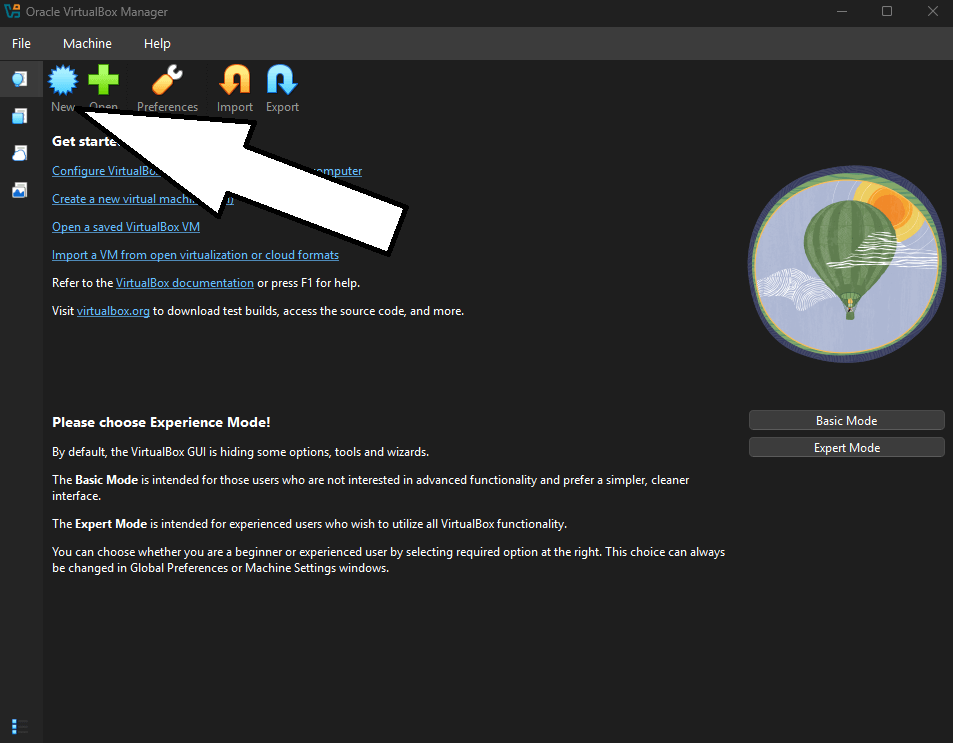
To make your virtual machine, navigate to the new VM menu as shown below.
Select your .iso file as the ISO image. You can customise other settings if you wish, but this is generally not necessary.
Once into the installer, you can just follow the on-screen instructions for most distros as they aren't too complicated. As for others (e.g. arch) these require a bit more knowledge (might fill this in later)
Installation with Windows Subsytem for Linux
Warning: WSL is only available for Windows, and only for the linux CLI. To install WSL you require administrator priveleges on your PC.
WSL (Windows subsytem for linux) is a good option for those who want a safe virtual environment and are interested in getting familiar with commands and the CLI.
To list available distros, run wsl --list --online in powershell.
Once you've decided on a distro, run wsl --install -d <DISTRO>, replacing <DISTRO> with your chosen distro. Use the exact string as listed from the previous command.
After you've restarted your PC, open the WSL app to start.
You can also run wsl --update to update your instance.
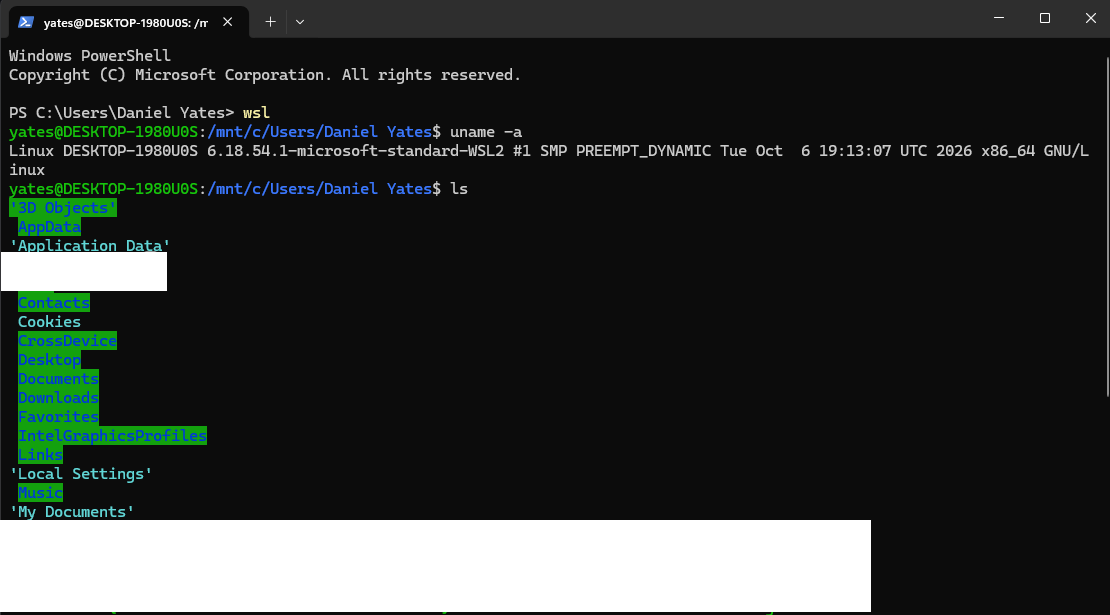
Now lets run wsl in powershell to start our wsl instance. You can tell it has worked when the prompt changes from PS C:\Users\USERNAME> to USERNAME@PC-NAME:/mnt/c/Users/USERNAME$
For more help, see the microsoft docs on WSL or run wsl --help in powershell
Basic commands: apt
We will start commands with apt. This is the package manager for most distrobutions.
Generally, it's best practice to update your system after an install. Lets try running apt update to find the packages that can be updated.
First command and already an error... Not to worry, this is a simple fix
For commands that require elevated permissions, like installing apps or updating your system, we need administrator permissions. This can be granted with the sudo keyword. Note that elevated permissions are granted by default when you are in root, i.e. running commands as the root user. The prompt for this would usually look like root@desktop$. Also note that if you're using WSL, your password is by default the same as your password to sign in to your PC, unless you've specified another one.
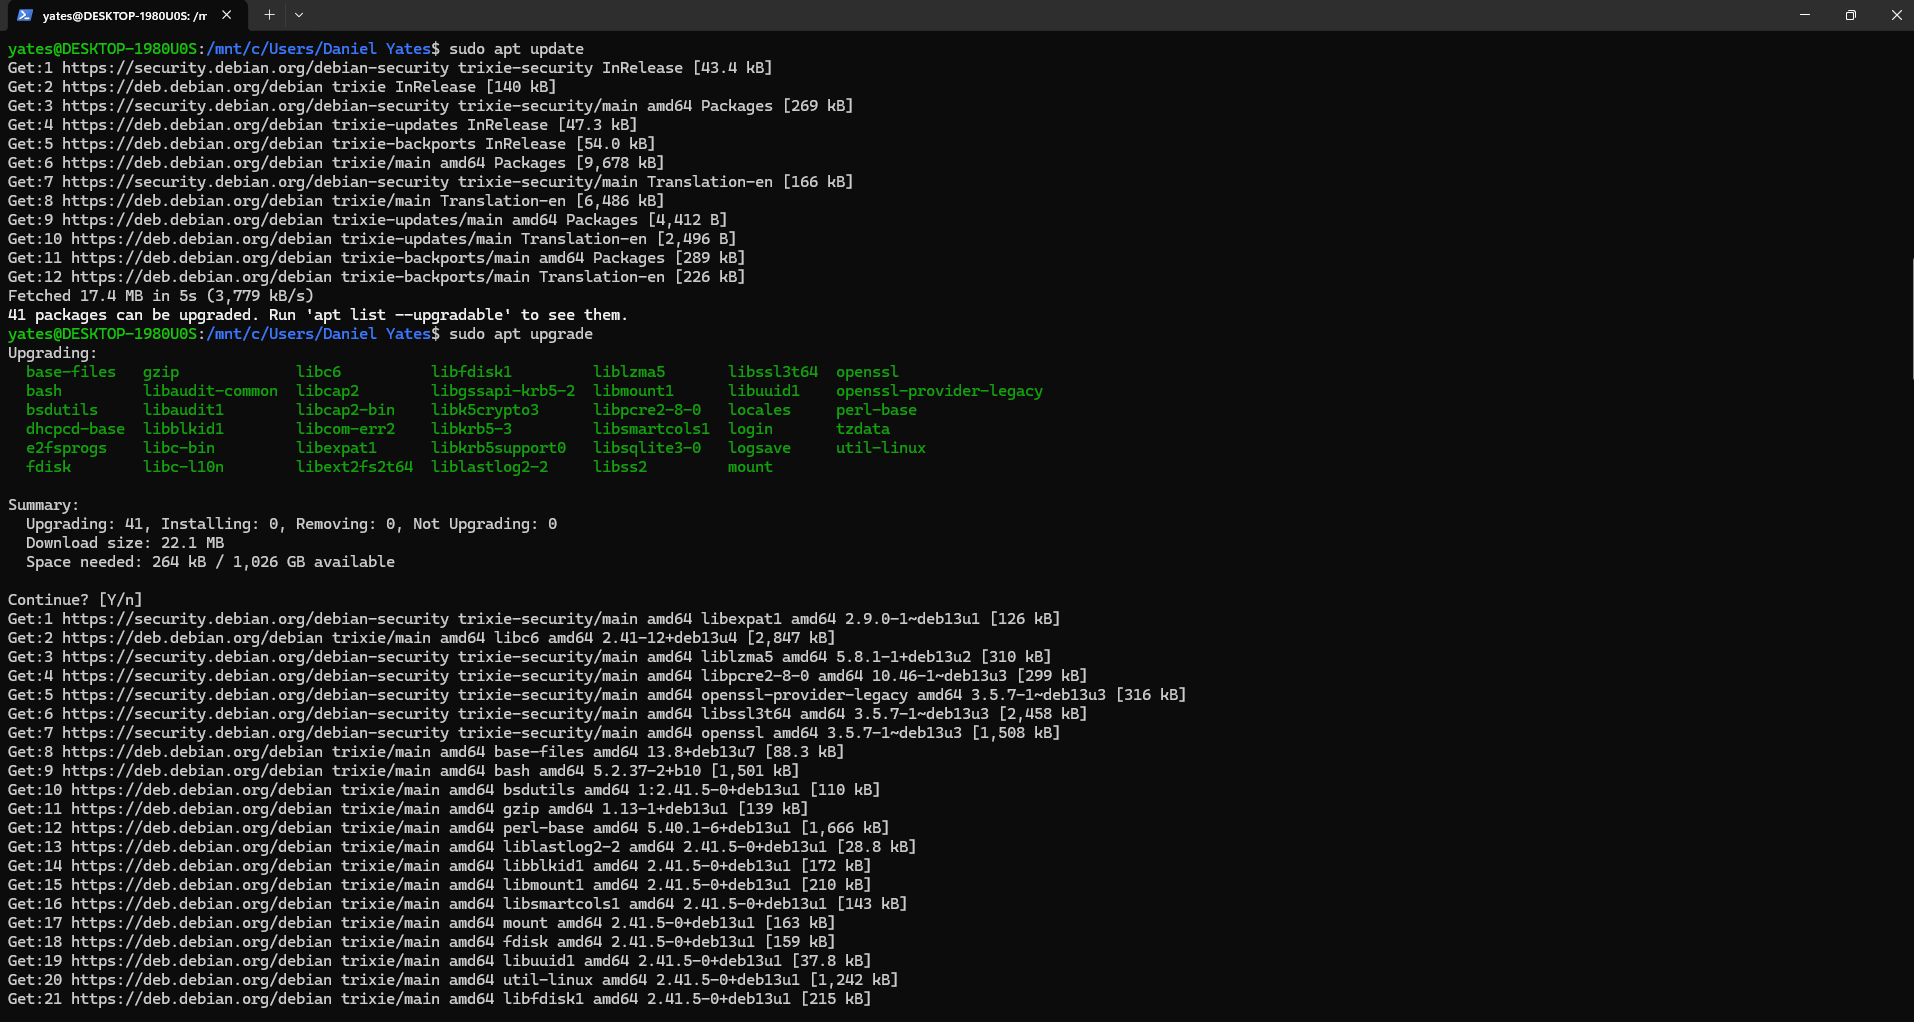
That's better. Now sudo apt update shows what packages can be updated, but that's not all as this command doesn't actually update anything. For that we need to run sudo apt upgrade, as seen above.
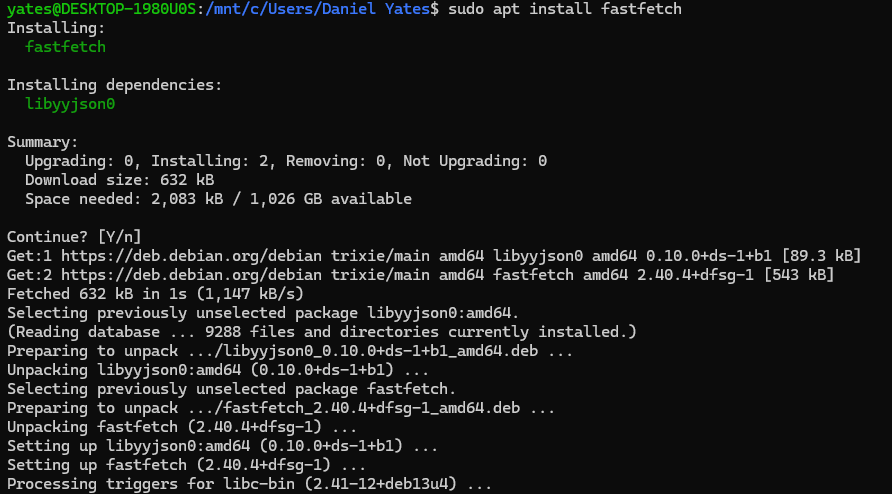
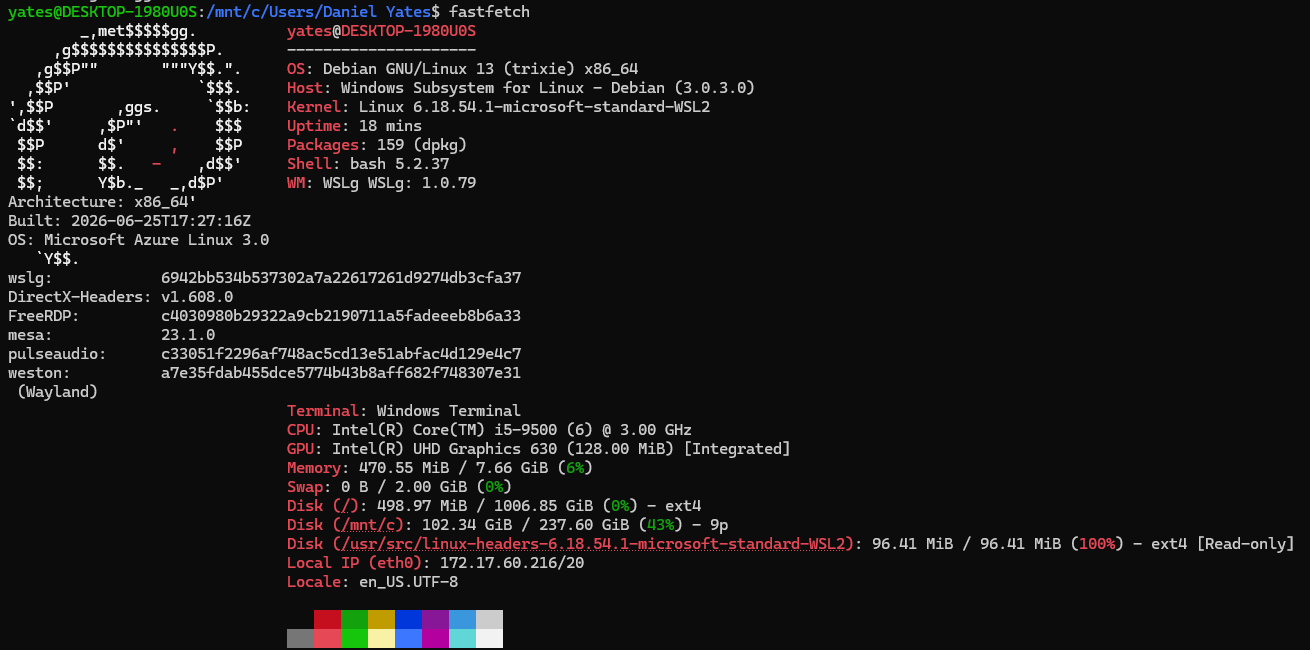
Now lets try installing a basic package. We'll use fastfetch, which shows basic system info in a more nicer looking way. We can install packages with the sudo apt install command.
Notice here that specific details of our install is listed. For example, we can see exactly how much space is needed for our package, and how much is available. It also shows exactly what files are being downloaded and installed.
Lets try running our package. We can do this with the command fastfetch